Hosting a bake sale is a fun way to bring people together and share the joy of homemade treats. From planning and promotion to baking and selling, a successful bake sale requires creativity, organization and community spirit. Here are our best tips to make your bake sale a memorable and rewarding experience for everyone involved.
How to Host a Bake Sale
Bake sales are a fun way to raise money for good causes and share the joy of baked goods with your community. Who can say no to a table of Chocolate Chip Cookie Bars, Homemade Brownies and Peanut Butter Chocolate Fudge?
They are fabulous fundraisers. I remember schools hosting a bake sale when I was a kid. It’s such a nice way to get to know other students and families — all while raising money to support the school.
Hosting a bake sale is a group effort. Well, I guess you could do it all yourself, but it’s way more fun with other people who can help with planning, marketing and baking!
Bake sales are the perfect fundraiser for all kinds of groups and community projects: schools, sports teams, scout troops, charities, neighborhood projects, college groups, sororities and fraternities, etc.
Why throw a bake sale?
You can throw bake sales for all kinds of reasons:
- They are a great way to raise money for schools, sports teams, charities and community projects, or even a person or family in need. They can also raise awareness for a good cause, similar to what we do for Cookies 4 Kids’ Cancer every December with The Sweetest Season.
- People love treats! They’ll be happy to pay a few bucks to support a cause if there’s a brownie in it for them.
- Bake sales, especially in schools or youth organizations, can serve as a practical lesson for kids. They can practice budgeting, planning, marketing, baking and teamwork.
More party ideas: Cookie Swap | Cookie Decorating Party | Gingerbread House Party | Dinner Parties
How to host a bake sale
1. Don’t do it alone.
The best way to host a bake sale is to involve others. You need some fellow volunteers! And bakers, too, of course.
It’s a lot of work, and you’ll need help with quite a few tasks:
- marketing the event
- signing up more volunteers
- setting up the bake sale station
- helping customers
- handling the cash and payments
- cleaning up
A spreadsheet or print-out is helpful for signing people up for different roles, like baking:
Some other things that could be added to a spreadsheet include:
- The types of baked goods that people will bake or bring so you don’t wind up with four batches of chocolate chip cookies and three lemon bars and nothing else. Variety is important!
- How many individual items they’ll bring. (e.g. 36 cookies)
- Flavors used so you don’t wind up with all blueberry items
- Shifts people can take at the sale itself.
- Jobs you need help with, such as advertising, treasurer, setup, cleanup, etc.
2. Find a good location.
Where will the bake sale happen? Before you start planning, decide where your booth will go.
Choose a high-traffic area where people will walk by and be tempted by all the baked goodies. Find out if you will need permission or any permits to host your bake sale.
If your bake sale is part of another event, like a school carnival, find out how many people the organizers anticipate attending. If not, it might be a good idea to research how many people walk by that area on the same day of the week as you plan to host your sale.
You’ll need a table or two, some chairs for your volunteers, a tablecloth (optional) and some directional signs (if needed) to point potential bake sale patrons to you. If it’s outdoors, a tent may be necessary to provide cover from the sun and wind.
3. Create a budget.
Start with how much money you’d like to make as your bake sale profits. Write it down.
Account for your potential expenses, such as:
- baking ingredients
- food packaging (see below for ideas)
- price tag stickers
- tables and chairs
- decorations
- advertising materials
- location fees
- any other supplies you need
Once you know how much you need to make back for your expenses, add that to your goal.
Let’s say you want to raise $500, and your expenses will be $100. Add that together, and you really need to make $600 to account for your investment.
4. Figure out pricing & quantities.
So from there, figure out how much you want your treats to cost. Let’s say you charge $3 for everything. If that’s the case, you will need at least 120 individual items to reach your goal of $600. But I would suggest making more than you think you need — plus, your volunteers won’t be sad about leftovers!
You will get to 120 items pretty fast, though!
Consider…
- A batch of brownies or bars usually makes 16 and can be cut into smaller pieces if you want to sell mini items.
- Many cookie recipes make around 2 dozen or 24 cookies
. - Muffins and cupcake recipes usually make 12.
- Cakes and loaves usually get 8-12 slices.
And if you made two batches of each of those bullets above, you’d have 128 treats! That will help you calculate how much you need to bake, and how many volunteers you need to bake them. It might be a good idea to bake even more in case people back out or don’t show up with their goodies.
5. Spread the word.
If there’s anything I’ve learned about running a business, it’s that you really can’t do too much when it comes to advertising. People are forgetful and surrounded by other ads. Even if it feels over-the-top, it probably isn’t!
And if you are hosting a fundraising bake sale, you’ll definitely need to spread the word and advertise! Fliers, posters and digital invitations are all good ideas to spread the word. Social media is a must, too!
Make sure people can find your bake sale! Print out some arrow signs that you can hang up pointing people to your stand for the day of.
6. Bake, bake, bake!
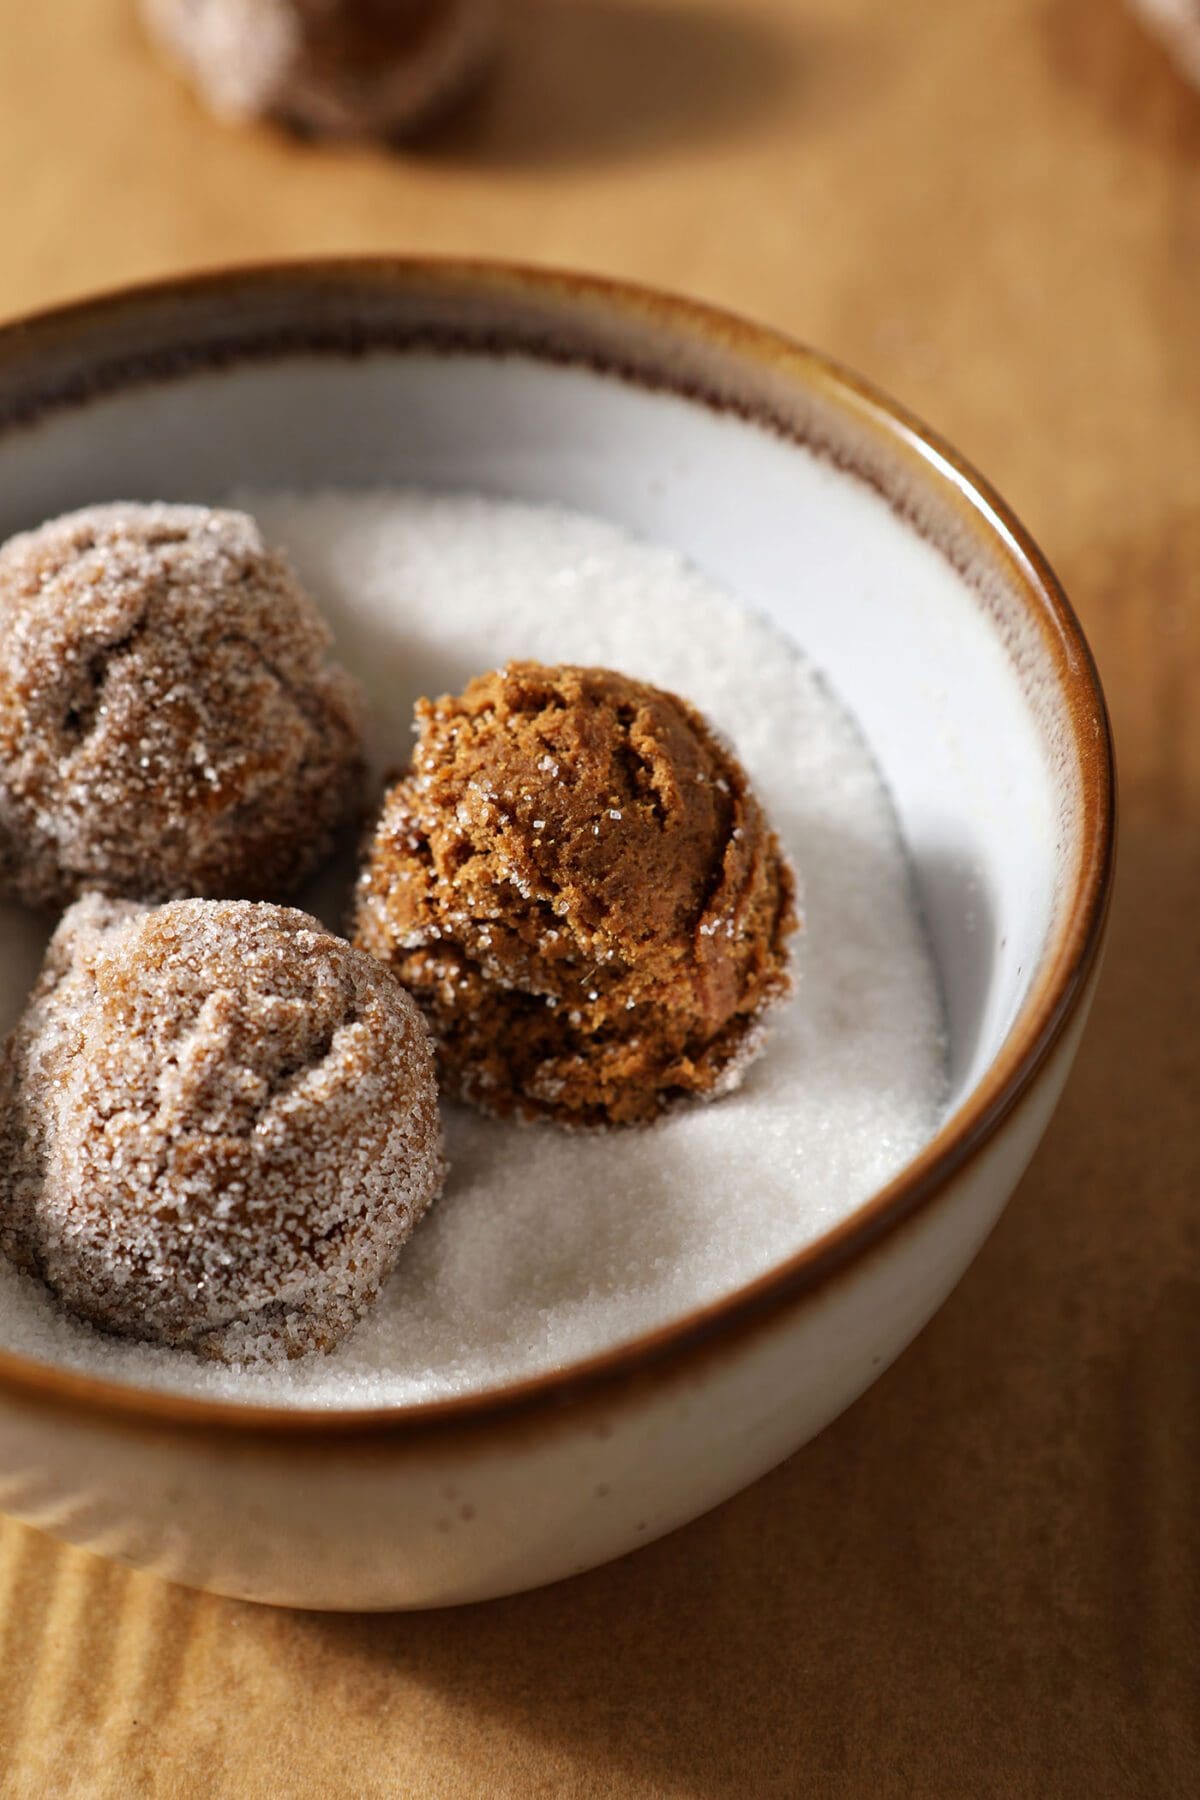
What you need for baking will depend on your chosen recipes, but you’ll probably need some flour, sugar, eggs and butter! Maybe some chocolate chips and icing, too. Also, please note that it’s totally fine to get store-bought cookie dough and cake mixes to save time and effort.
You can get started baking well before your bake sale, too. I love to freeze cookie dough to bake later, so that’s a great way to get ahead.
You can also freeze already-baked cookies and brownies in freezer-safe airtight containers or plastic bags. Let them thaw a day before the event.
It really does help if you share the load with someone else, so get a helper in your kitchen or another person or people to bake at their homes.
Food safety tip!
Treat your treats like a bakery would. Tie your hair back or wear a hair net and use gloves when baking. This isn’t the time to lick your fingers or stick a dirty spatula back into the batter. And at the sale itself, use gloves or food paper if you have to handle unwrapped food.
7. Package up your goodies.
It’s best to wrap individual treats in packaging so that your volunteers don’t need to touch the food at all.
But they may need to handle food, such as slicing cakes or loaves, so they should wear gloves.
Here are a few packaging ideas to consider:
- Plastic bags, cellophane bags or clear plastic party favor bags (just make sure they’re all food-safe)
- Paper treat bags or food-safe paper wrapping
- White or brown paper bags
- Plastic wrap
- Treat bags
- Takeaway boxes, like individual cupcake containers or a smaller cardboard box for a few treats
- Larger bags to pack treats in
Allergy tip!
It’s important to communicate what is in your baked goods. Create labels for each treat after referencing the recipes your bakers used and include information about what is in each so that your customers are aware of what was used.

8. Set up your sale.
Okay, it’s the day of the sale! Let’s get set up.
Here are a few things you might consider having on your bake sale table:
- A tablecloth usually looks really nice, but it’s not a must.
- Fresh flowers are always a nice decoration. You can cut these from your lawn or neighborhood, with your neighbors’ permission.
- Display treats because you need people to drool over them! Especially if most of your goodies are already wrapped up, it’s a good idea to set up a tiered stand or a few plates displaying one of each item and a label of what it is. I like to put the most popular items in the front so that people will notice them immediately.
- A menu listing the items, ingredients used and prices.
- It’s also a good idea to have some napkins, paper plates and plastic forks on hand for anyone who wants to dig in right away!
9. Make money! $$
Okay, yes, this is a fundraiser. But you will need to start with a little bit of money to provide change to customers. Having cash in a lockable cash box is great, especially if you have items priced under $5, but you’ll need to have some extra money ($1 bills especially) and maybe coins for giving people change.
Many people don’t carry cash these days, so it’s wise to set up another way to accept payments with an app, like Square, Venmo, PayPal, Zelle or CashApp. Most people will have at least two of these, so make it as accessible as you can.
10. Have fun!
Successful bake sales should be fun, joyful events, so don’t let this stress you out.
Here are my best tips to making this as easy as possible:
- Start early in planning. Bake sales can be hard to rush because they are a lot of work! That said, it is possible to pull off if there is an emergency event. I know someone who threw one together in a week to raise money for her community after a big flood, but she had a lot of help!
- Get as many volunteers as you can. Or even a volunteer to manage the other volunteers (my favorite delegation hack!). Do whatever you can to take some pressure off yourself.
- Bake early! There is no need to stress bake the night before. Most baked goods can be kept for a few days or even frozen in advance. Get ahead on baking and freezing dough or fully baked goods at least a month before. You can even give frozen cookie dough to another volunteer to bake at their home.
The Best Bake Sale Recipes
Now to the fun stuff — what to make! The best bake sales provide one-off, easy-to-grab items. That said, you can totally have full cakes and loaves and offer slices to folks.
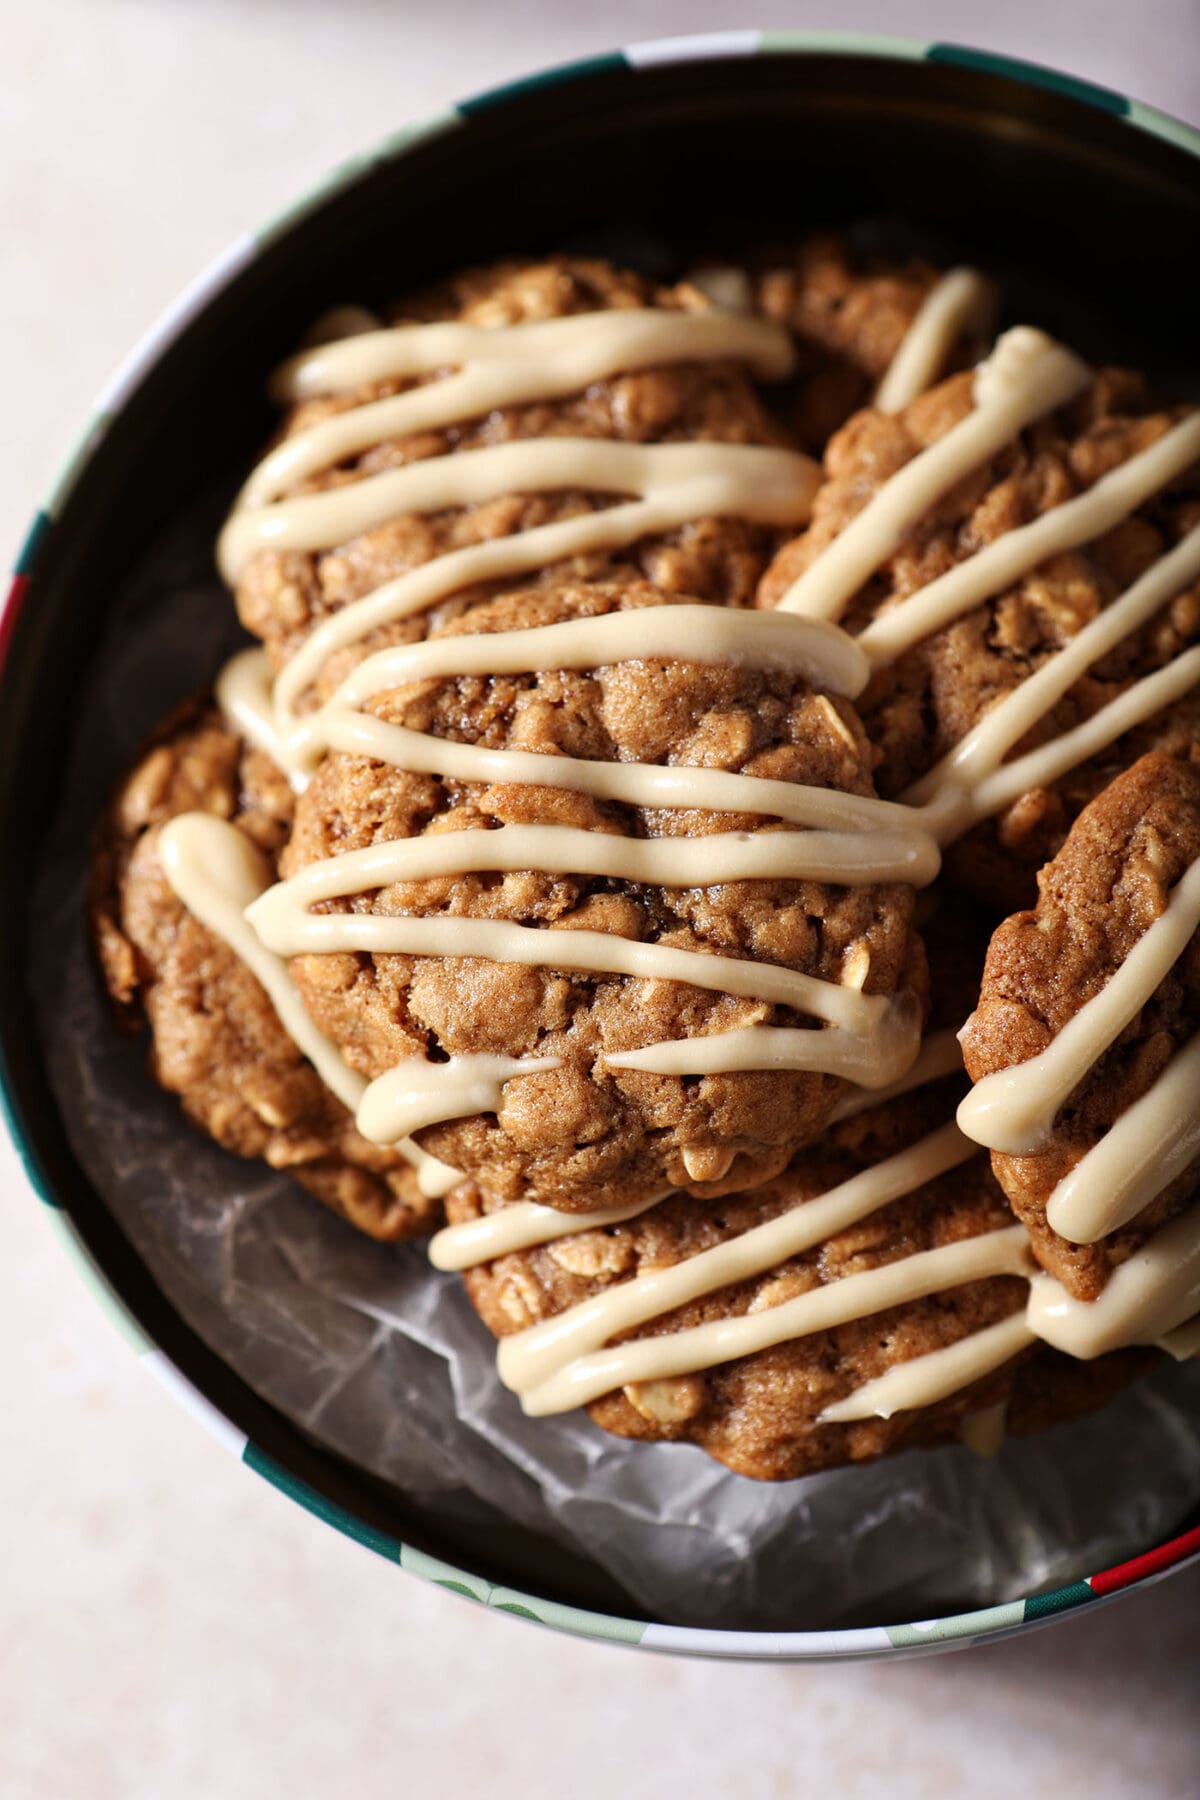
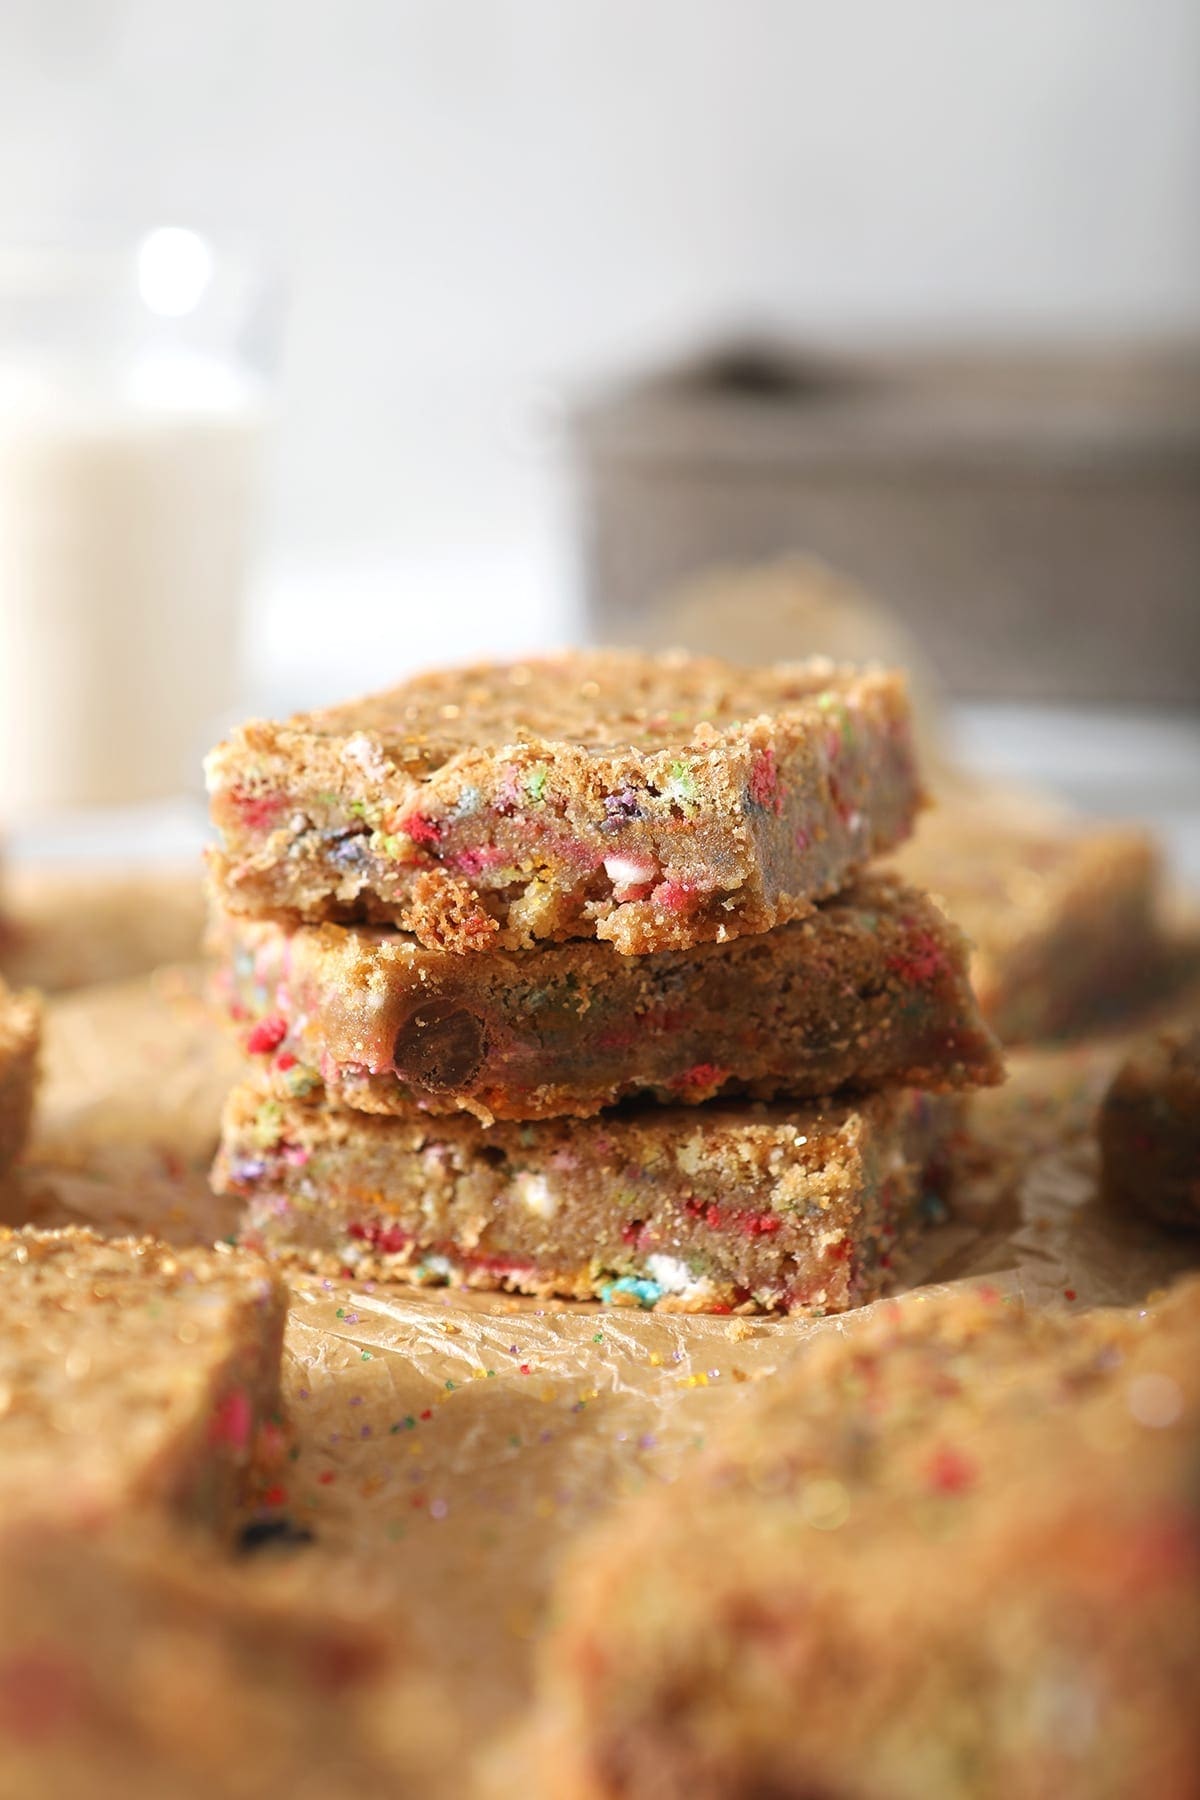
Cookies: Kids love Funfetti Cookies (hi hello, colorful sprinkles!) and everyone loves chocolate chip. You can have SO much fun with homemade cookies! After all, I am a cookie lady in my neck of the woods, so check out all of my cookie recipes if you need some baking inspo!
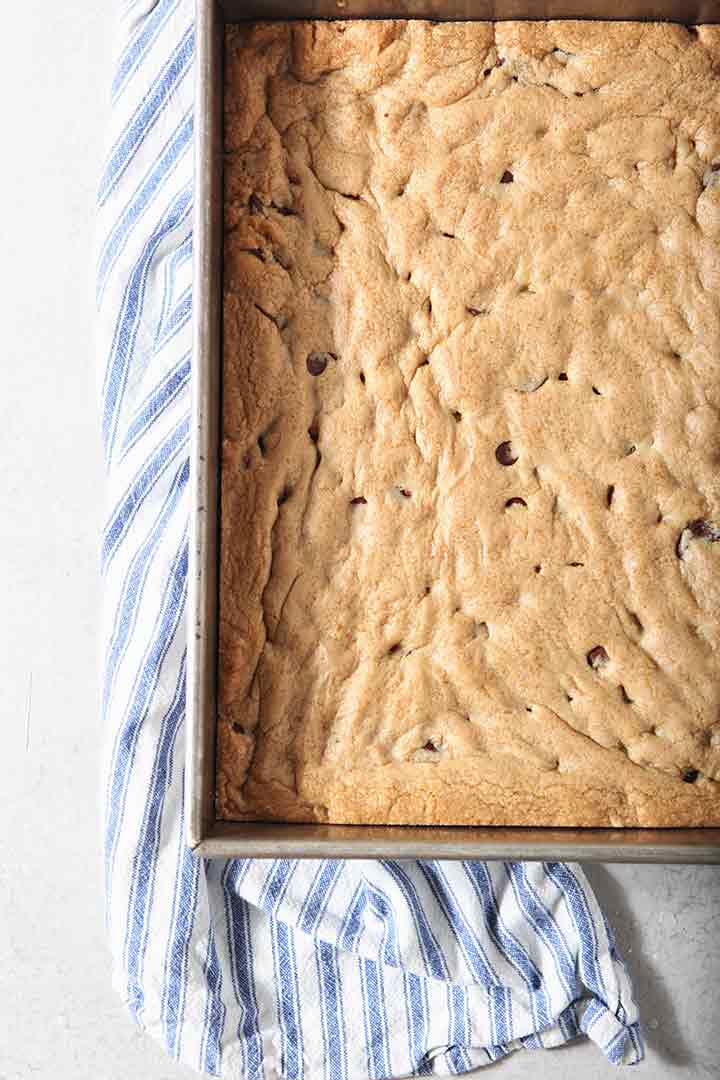
Bar cookies: Bars are a nice alternative to cookies because they are easier and you don’t have to form them into shapes. It’s hard not to adore my favorite apple pie bars or Snickerdoodle Bars.
Brownies: Who doesn’t love a brownie? Go classic with plain Brownies or something with a topping, like Pumpkin Cheesecake Brownie Bars.
Cupcakes: Cupcakes are a bit easier to make and travel with than cakes. Go for 1-2 of classic vanilla, chocolate or strawberry and then a fun kind like carrot cupcakes or margarita cupcakes.
Tarts and hand pies: Real talk: these are more involved to make than cookies or bars or cupcakes, but they are delicious. These strawberry and blueberry hand pies will go fast, and so will mini chocolate bourbon pecan pies!
Bread: These can be sweet breads, like pumpkin bread or special homemade baked bread!
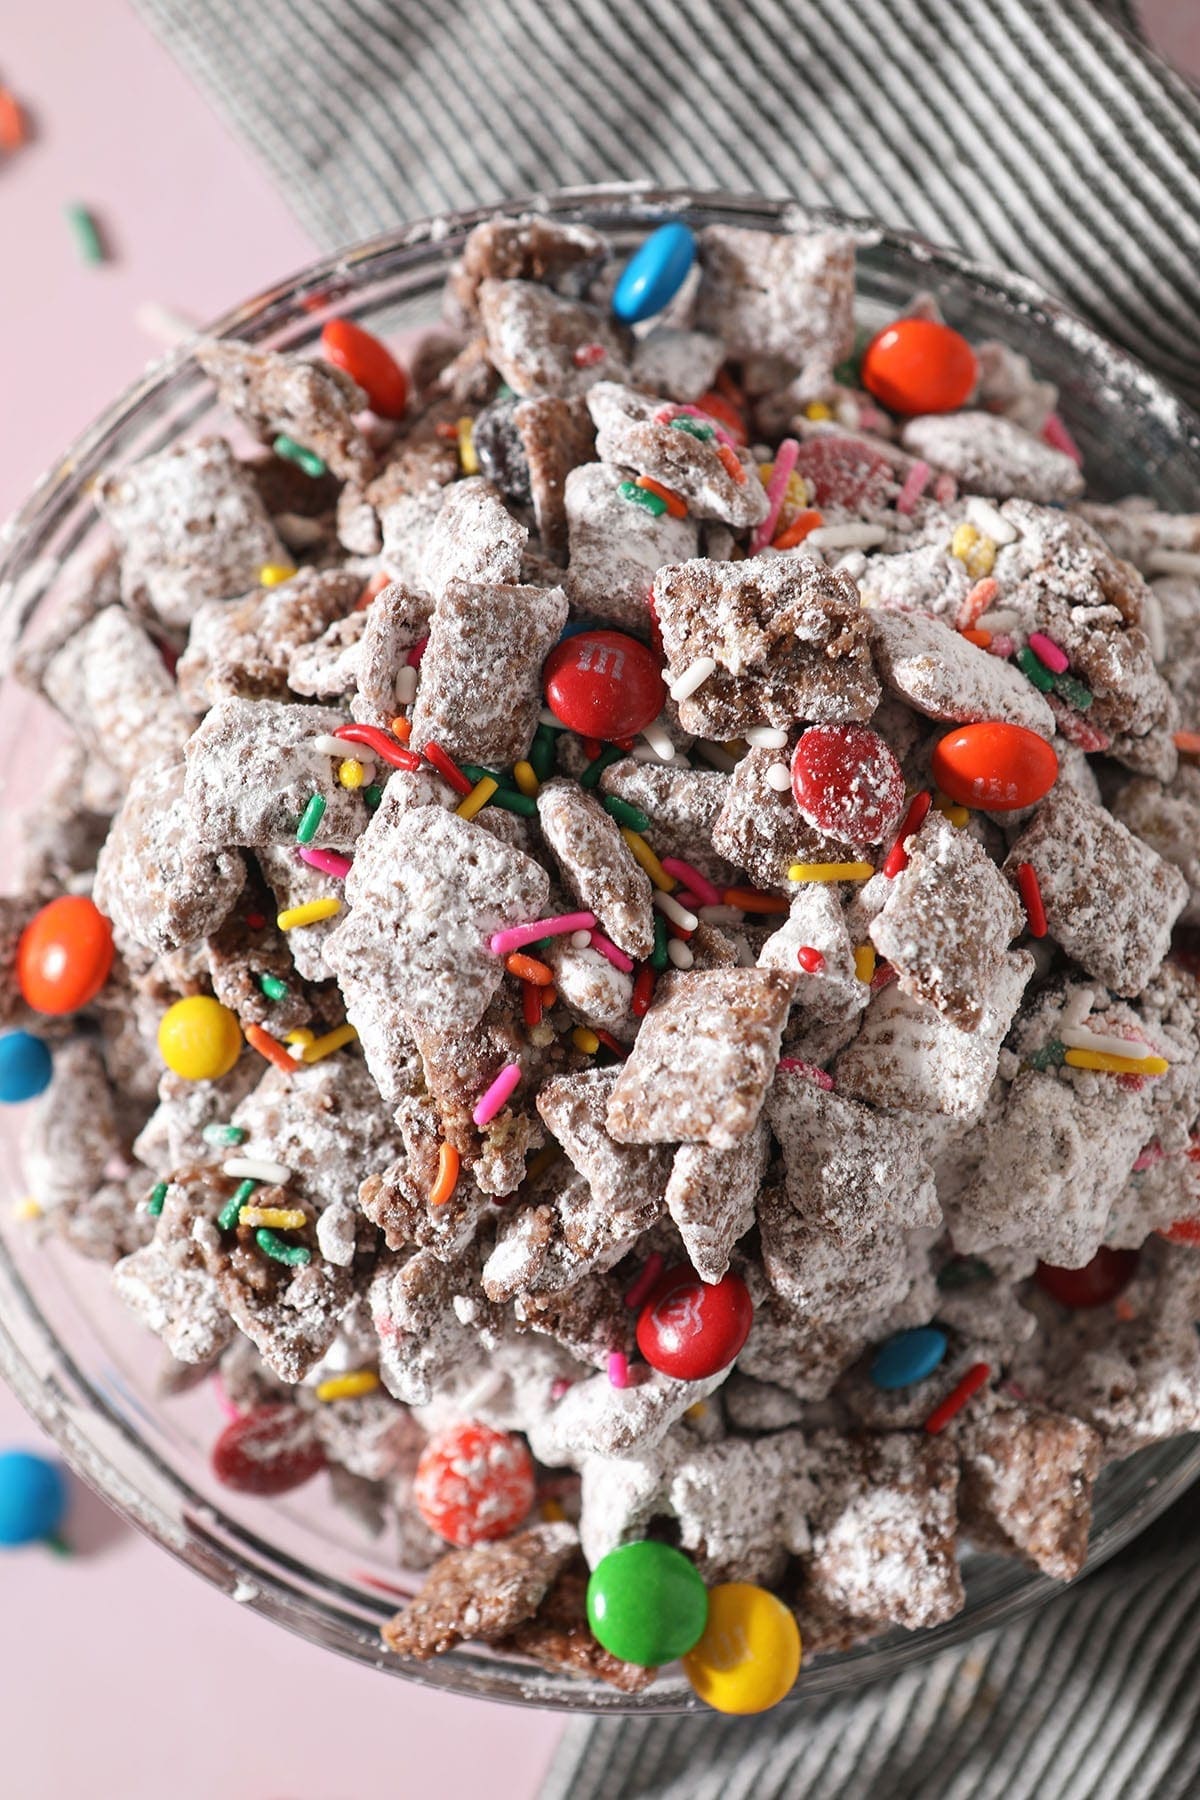
Snack mixes: Make bags of snack mixes like sweet and savory party mix or chex mix puppy chow for a different vibe!
Drinks: People get thirsty! You could sell bottled water and lemonade in the summer, and hot cocoa or apple cider in the fall and winter. Or milk to go with cookies! (Have some water for your volunteers, too!) Be sure to have paper cups or plastic cups if you’re offering drinks.
Erin’s Easy Entertaining Tips
- Get started planning as soon as you can. You can bake early, too! The freezer is your friend.
- Wrap up your goodies in a cute way. People are more likely to grab a stack of cookies — wrapped up with pretty ribbons — and an extra to take to their neighbor because it looks nice.
- Get lots of help. Even one other person to share the load will be helpful!
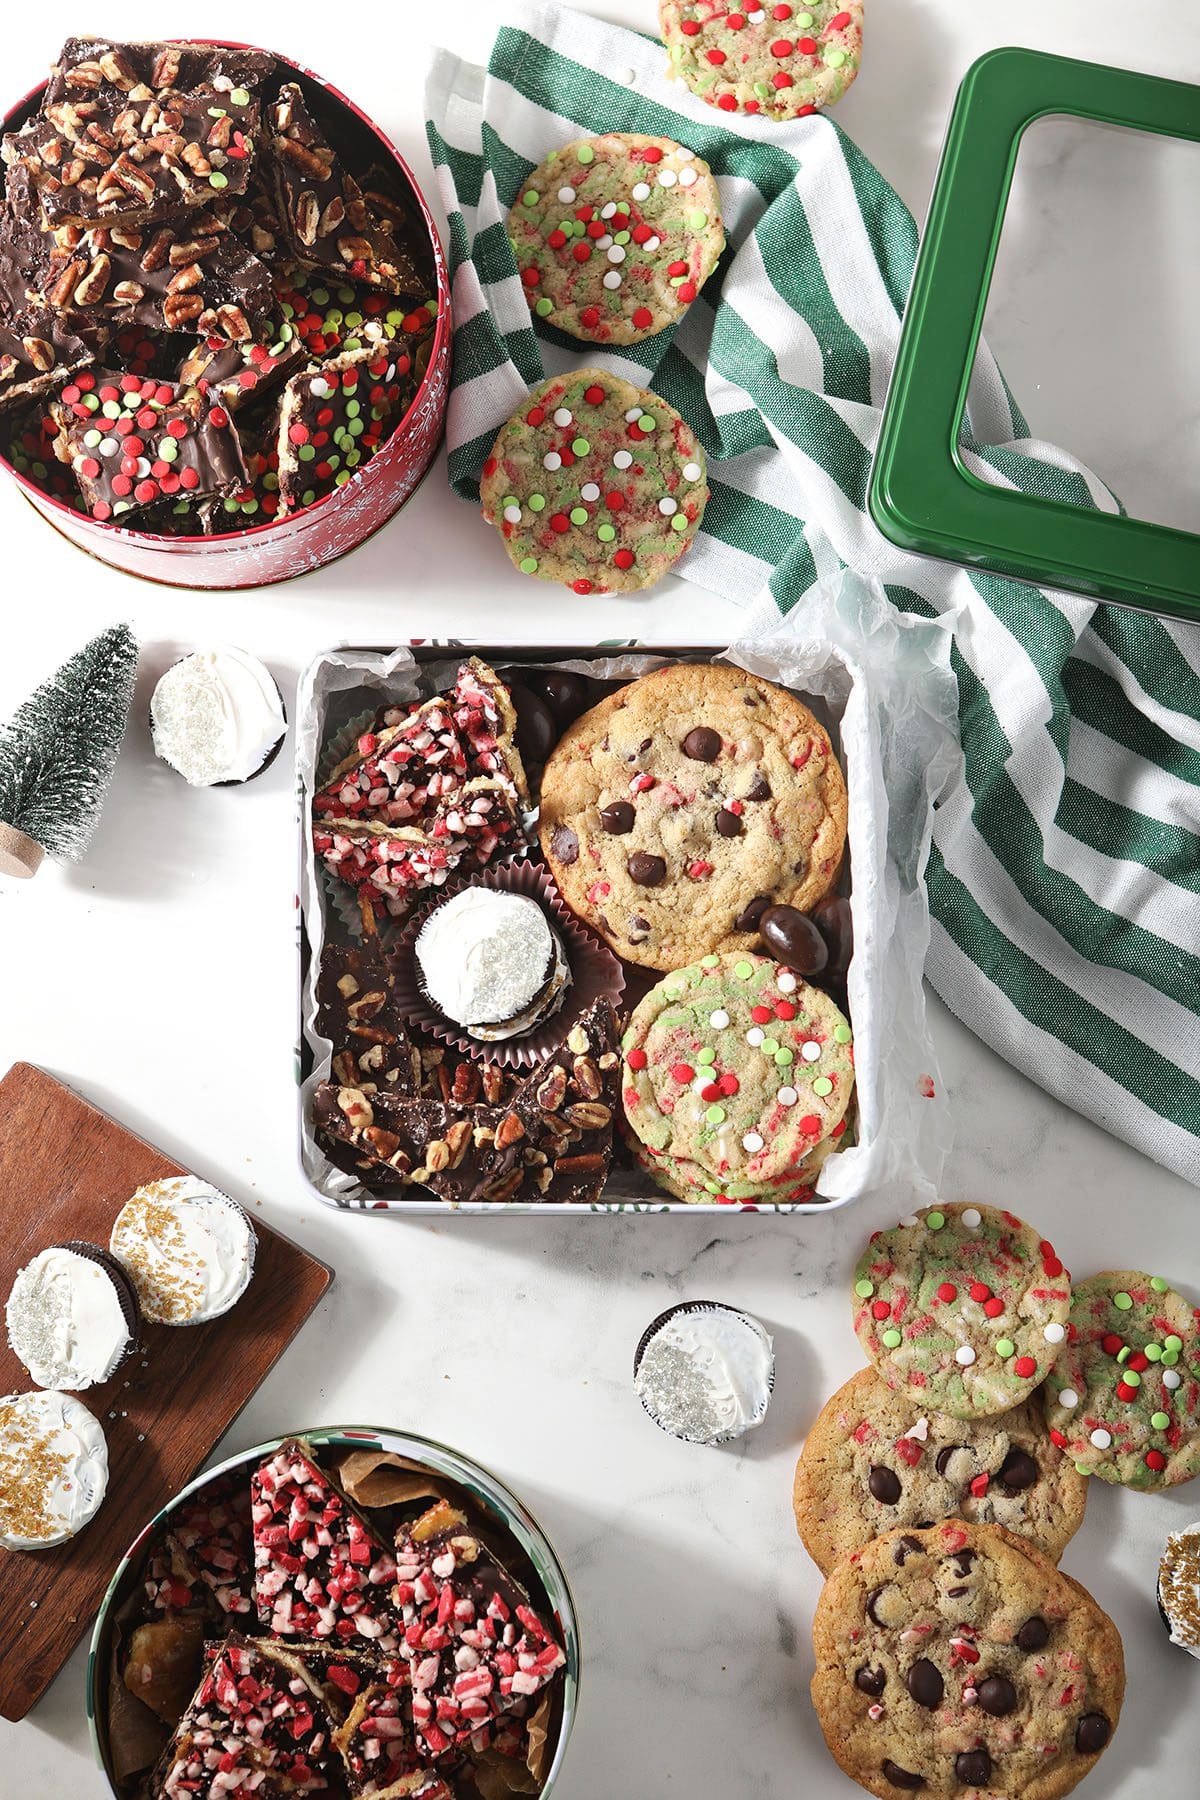
- Make dessert boxes or cookie packages with one of everything. Sell them for more money. These will be appealing because they’re easy to carry home. Also, if anyone has a big sweet tooth, having a variety is a tempting option!
Frequently Asked Questions
Ideally, about 3-4 weeks. That will give you enough time to get volunteers, spread the word and get to baking. As soon as you know you are hosting one, you can start baking and freezing dough or already-baked items like brownies and cookies.
Anything that can easily be wrapped and handheld is perfect for a bake sale. Cookies and brownies are great because they can be wrapped up. Cupcakes and muffins are also popular.
Anything crumbly, messy or melty is a bad idea. Avoid sticky buns, filled cupcakes and cobblers.
Quick Tips and Tricks for the Best Bake Sale
- Be allergy friendly. Label every ingredient used for each recipe so people can know what they are buying. It’s a good idea to offer at least one gluten-free option like these Peppermint Brownie Cookies. We don’t want anyone to have an allergic reaction!
- Consider the time of day. If your bake sale is in the morning, offer more breakfast-like items, like Coffee Cake Muffins and Strawberry Cinnamon Rolls than desserts.
- Offer a variety of items. Not everyone likes sweets, but they may still want to support you, so you may want to make more savory items like biscuits, spinach scones or sourdough bread.
- Choose a mix of classics and unique flavors. There should be a few favorite items that most people will be familiar with, like Blueberry Muffins and Classic Snickerdoodle Cookies, and then you can add on creative flavors like Orange Raspberry Shortbread Cookies.
- Be mindful of weather! If it’s super hot, you may want to keep anything with chocolate, icing or that could melt in a cooler. Or better yet, avoid those in the summer months.
How to Host a Bake Sale
Hosting a bake sale is a fun way to bring people together and share the joy of homemade treats. From planning and promotion to baking and selling, a successful bake sale requires creativity, organization and community spirit. Here are our best tips to make your bake sale a memorable and rewarding experience for everyone involved.
Prevent your screen from going dark
- Individual wrapping for cookies, bars, etc.
- Treat bags
- Paper plates
- Paper cups
Baked Goods for the Sale
- favorite cookie recipes
- favorite bar recipes
- favorite cupcake recipes
- other easy no bake treats to package up
As an Amazon Associate and member of other affiliate programs, I earn from qualifying purchases.
-
Don’t do it alone. Involve others to have a successful and less-stress bake sale.
-
Plan where your booth will go before getting started. Choose a high-traffic area. Find out if you will need permission or any permits to host your bake sale.
-
Create a budget and decide how much money you would like for your bake sale to raise.
-
Figure out pricing and quantities so that you can meet your fundraising goal.
-
Spread the word. Advertising and marketing is key. Create fliers to hang up in person, as well as share things on social media to spread the word.
-
Bake, bake, bake! Since you can make many cookie and baked good recipes in advance, start doing this early so you do not have to frantically bake all the items you’re selling the night before.
-
Package up your goodies. Individually wrapped and packaged goodies are good for a bake sale. Be sure to use food safety measure and wear gloves, label your treats, etc.
-
The day of, set up your sale.
-
Host the sale and hopefully, make money!
-
Have fun! Part of the reason to do something like this is to enjoy yourself, so have fun with it and connecting with other people in your community.
Please note the times listed here are estimates and depend on how much work you take on to make the bake sale happen, as well as how much time it takes to chill and bake the various baked goods. It also depends on how quickly you work.


